Principles of Leather Dyeing and Edge Burnishing
Transforming raw materials into finished goods requires sealing the fibers against the elements. We explore dyeing techniques and the pursuit of the glassy edge.
A leatherworking project is not finished when the final stitch is pulled tight. The treatment of the leather's surface and its cut edges dictates the item's longevity and professional appearance. Unfinished vegetable-tanned leather is highly susceptible to water damage, oils, and dirt. Proper finishing seals the pores and binds the loose fibers.
Understanding Leather Dyes
Dyeing leather is a chemical process of penetrating the fibers with color, rather than painting over them. Dyes are formulated to soak deep into the grain, ensuring the color does not crack or peel as the leather flexes.
Alcohol-Based Dyes: These are the most common dyes used by hobbyists and professionals alike. The pigments are suspended in an alcohol base, which penetrates the leather rapidly and evaporates quickly, leaving the color behind. While they offer deep, vibrant colors, the rapid evaporation of the alcohol can pull natural oils out of the leather, leaving it stiff and requiring heavy conditioning post-dye.
Oil-Based Dyes: Often labeled as "pro" dyes, these consist of pigments suspended in an oil carrier. They penetrate more evenly, reduce the risk of streaking, and help condition the leather as they color it. They are generally preferred for large surface areas like bags or belts.
Regardless of the type used, dye is typically applied with high-density sponges, wool daubers, or airbrushes in a circular motion to ensure even coverage.
The Art of Edge Burnishing
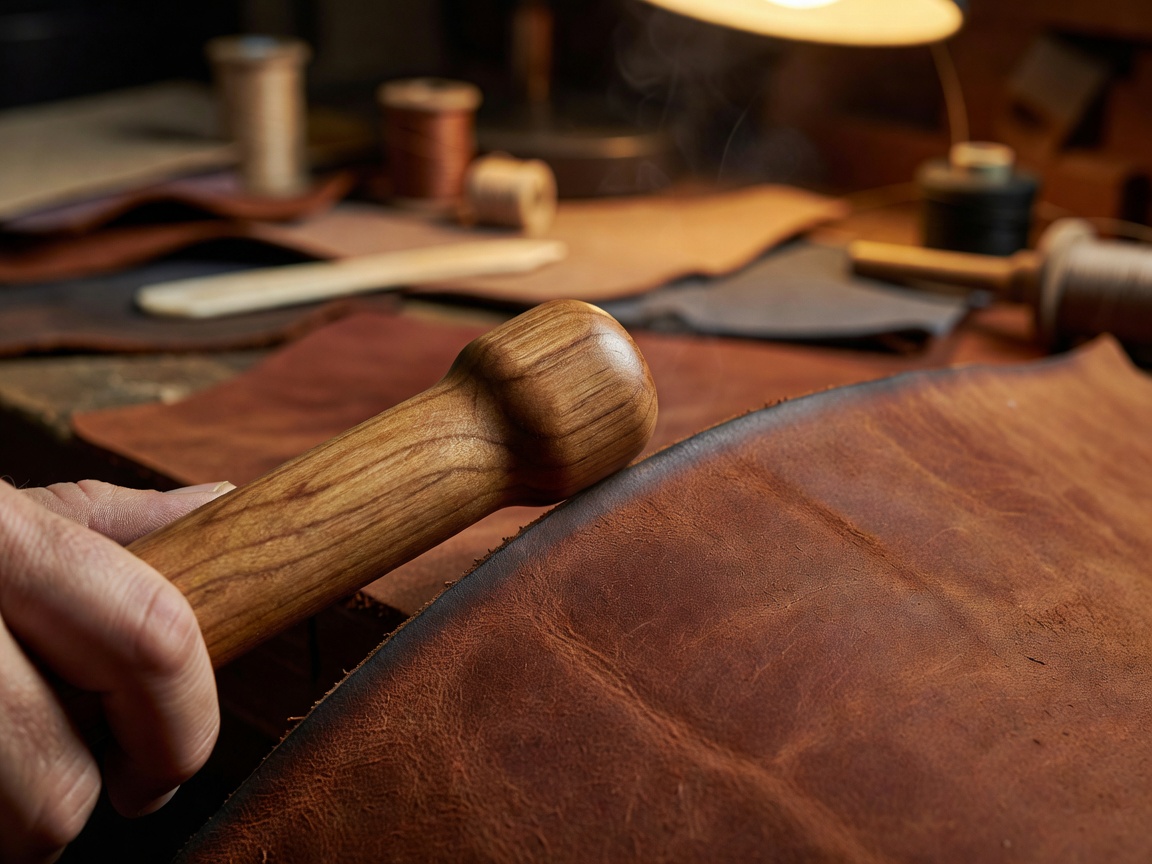
When you cut a piece of vegetable-tanned leather, the cross-section (the edge) exposes raw, unbound fibers. If left untreated, these edges will fray, absorb moisture, and degrade. Edge burnishing is the process of using friction and moisture to fuse those fibers together, resulting in a smooth, glassy finish.
The Burnishing Process:
- Sanding: The edge must first be sanded perfectly flat using varying grits of sandpaper (e.g., 220, then 400, up to 800 grit). If the edge is uneven, it cannot be burnished effectively.
- Beveling: An edge beveler is run along the top and bottom corners of the cut to remove the sharp 90-degree angles, creating a rounded profile.
- Wetting: A burnishing agent is applied to the edge. While plain water or saddle soap can work, modern crafters overwhelmingly prefer specialized compounds like Tokonole or traditional Gum Tragacanth. These contain waxes and resins that drastically speed up fiber fusion.
- Friction: A wooden or canvas burnishing tool is rubbed rapidly along the edge. The heat generated by the friction causes the natural proteins in the leather to bind with the burnishing agent, sealing the edge and creating a glossy sheen.
Conditioning and Sealing
Following the dyeing and edge finishing processes, the entire piece must be conditioned and sealed. Neatsfoot oil or specialized leather balms replenish the oils lost during dyeing and environmental exposure. Finally, an acrylic or wax-based topcoat (such as Resolene or a beeswax compound) is buffed into the grain to provide a water-resistant barrier.
Conclusion
Finishing is where patience is most rewarded. A perfectly executed saddle stitch can be completely undermined by a frayed edge or streaky dye job. By dedicating equal time to sanding, burnishing, and conditioning, the final piece elevates from amateur craft to professional heirloom.