Essential Leatherworking Tools for Beginners
Navigating the overwhelming market of leathercraft tools can be daunting. We detail the foundational implements required to draft, cut, stitch, and finish your first project.
Entering the craft of leatherworking often feels like stepping into a specialized hardware store where the terminology is entirely foreign. Awls, mauls, skivers, groovers, and edge bevelers flood the catalogues of supply houses. However, traditional leathercraft requires surprisingly few tools to produce items of exceptional durability and beauty. Understanding the mechanics behind these tools prevents unnecessary expenditures and establishes a strong technical foundation.
Cutting Tools
The primary action in leatherworking is separating material. A clean, vertical cut eliminates hours of corrective sanding later in the process. While specialized tools like the round knife (or head knife) represent the pinnacle of traditional cutting, they require significant sharpening skill and technique to master.
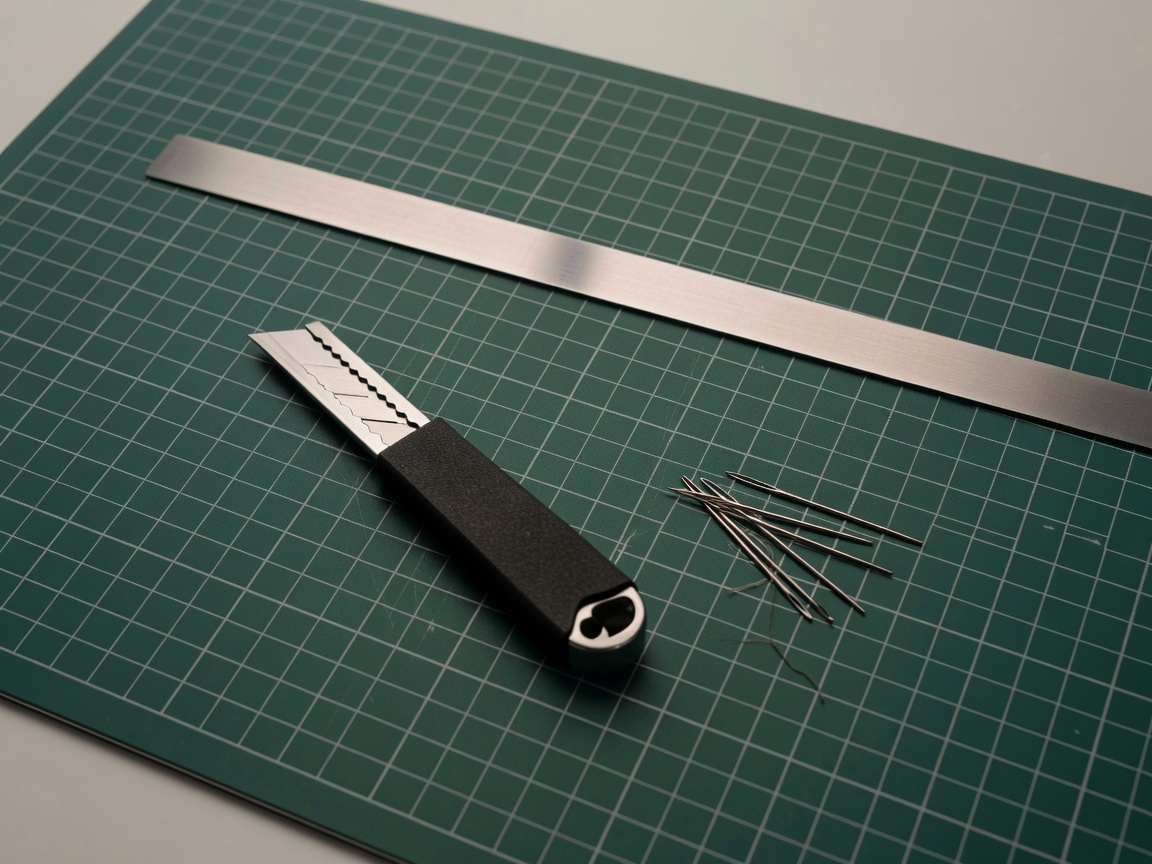
For beginners, a heavy-duty utility knife with snap-off blades is often the most practical choice. It ensures a razor-sharp edge is always available. A rotary cutter is also highly beneficial for long, straight cuts on thinner leathers, reducing drag and preventing the material from stretching. Regardless of the cutting tool chosen, it must always be paired with a thick, self-healing cutting mat and a heavy, non-slip steel rule to guide the blade safely.
Hole Punching and Spacing
Unlike fabric, leather cannot simply be pierced by a needle during the sewing process. The stitching holes must be pre-punched or pierced. This is where stitching chisels and pricking irons come into play.
Diamond Chisels: These tools feature multiple prongs shaped like diamonds. When struck with a mallet, they punch entirely through the leather, creating ready-to-sew holes. They are cost-effective and highly recommended for beginners because they guarantee even spacing and consistent hole size. A set usually includes a 4-prong chisel for straight lines and a 2-prong chisel for curves.
Pricking Irons: In more advanced or traditional European leatherwork, pricking irons are used. These do not pierce all the way through; instead, they simply mark the stitching spacing on the surface. The artisan then uses a diamond-shaped sewing awl to pierce each hole individually as they stitch. This requires more skill but yields a highly refined, angled stitch characteristic of high-end luxury goods.
The Maul or Mallet
A striking tool is necessary to drive chisels or punches through thick leather. It is a strict rule in leathercraft never to strike metal tools with a metal hammer. Doing so will mushroom the top of the tool and potentially cause metal splinters.
Instead, a poly-head maul, rawhide mallet, or heavy wooden mallet is required. A maul is generally preferred by modern crafters because its cylindrical head allows you to strike the tool at various angles without worrying about the face of the mallet being perfectly flat against the tool handle.
Needles and Thread
Leather stitching utilizes a blunt-tipped needle, commonly referred to as a harness needle. Because the holes are already punched by a chisel or an awl, the needle does not need a sharp point; in fact, a sharp point is a detriment, as it can pierce and split the thread while passing through tight holes.
The two primary choices for thread are linen and polyester. Linen thread is traditional, lies beautifully flat, and is usually waxed by the crafter using beeswax. Polyester thread is synthetic, heavily pre-waxed, highly resistant to abrasion, and can be melted at the ends with a lighter to lock a stitch in place. For initial projects, waxed polyester in a 0.6mm to 0.8mm thickness is generally the most forgiving and durable option.
Edge Finishing
A raw cut edge of leather is fibrous and absorbs moisture. To protect it and provide a finished look, the edges must be treated. An edge beveler is used to round off the sharp 90-degree corners of the cut leather. Afterwards, an edge slicker (typically a grooved wooden tool) is rubbed rapidly along the edge. The friction generates heat, which binds the leather fibers together. This process, known as burnishing, is typically aided by water, saddle soap, or specialized burnishing gums like Tokonole or gum tragacanth.
Conclusion
While the allure of acquiring every specialized tool is strong, mastering the basics—a sharp knife, a heavy ruler, diamond chisels, harness needles, and an edge beveler—is the true path to proficiency. These fundamental tools are responsible for ninety percent of the structural work in a typical leather project. As your skills advance, you can slowly integrate specialized skiving tools, creasers, and French skivers into your workflow.